Well the chilly season is slowly approaching and before getting stuck into knitting scarves, hats and gloves, I wanted to take the Autumn season to make some woolen accessories! So I am gonna make a cute headband!
Don't bother crackin' out those knittin' needles just yet...cause this all done by FINGER KNITTING. If you've never done this before, never fear, all the instructions are below!
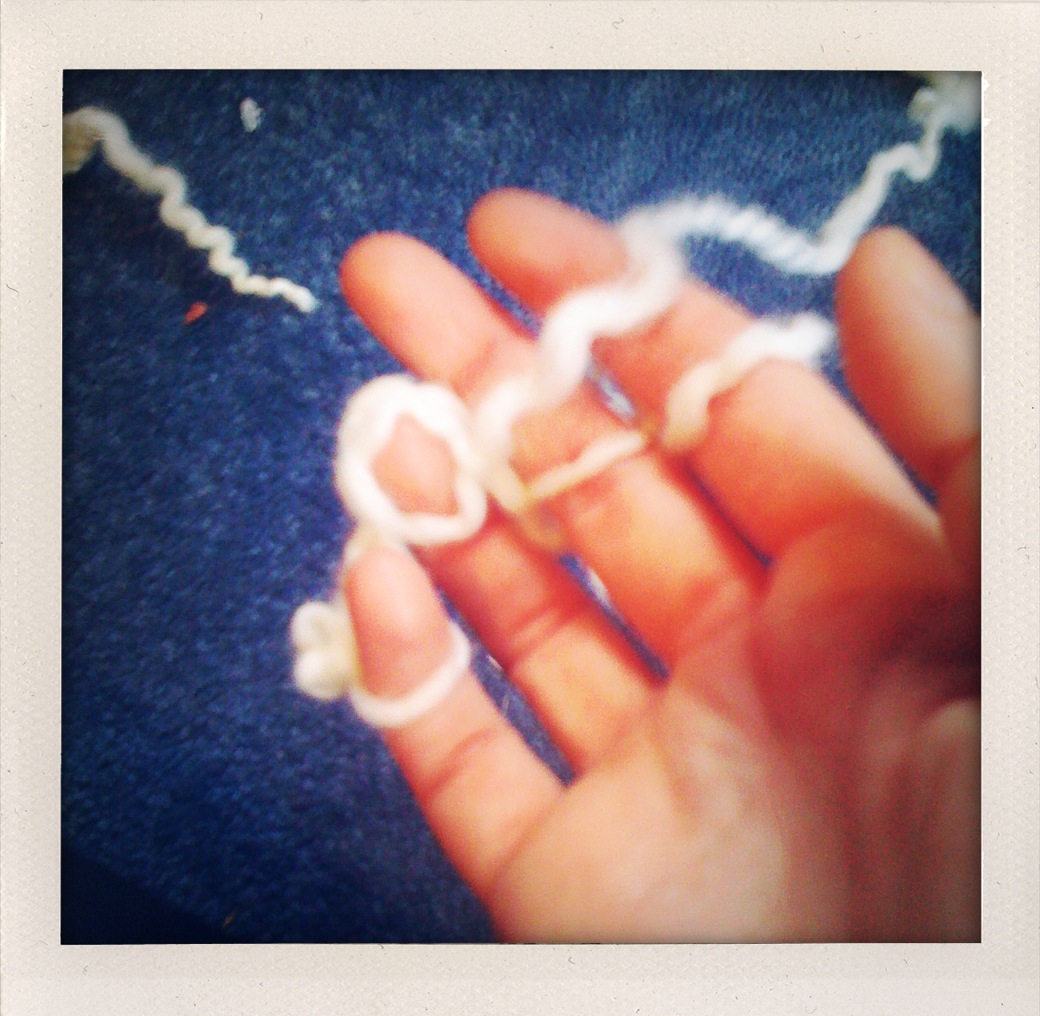
Lay wool across your hand like so...

Now weave it between your fingers towards your litter finger.

Then back again...

Next lay the wool back across your hand. This is what you will use to knit with.

Starting at your index finger, pull the BOTTOM loop over the top thread and put it under your finger, making a stitch!

Continue this pattern...

Until you have completed one row. It should look like this...

And should look like this on the back!

Now we do the same thing but this time starting at the little finger and working towards the index finger.
Lay the string across...

Take the bottom loop over top of the string and then put it under your hand creating a stitch!

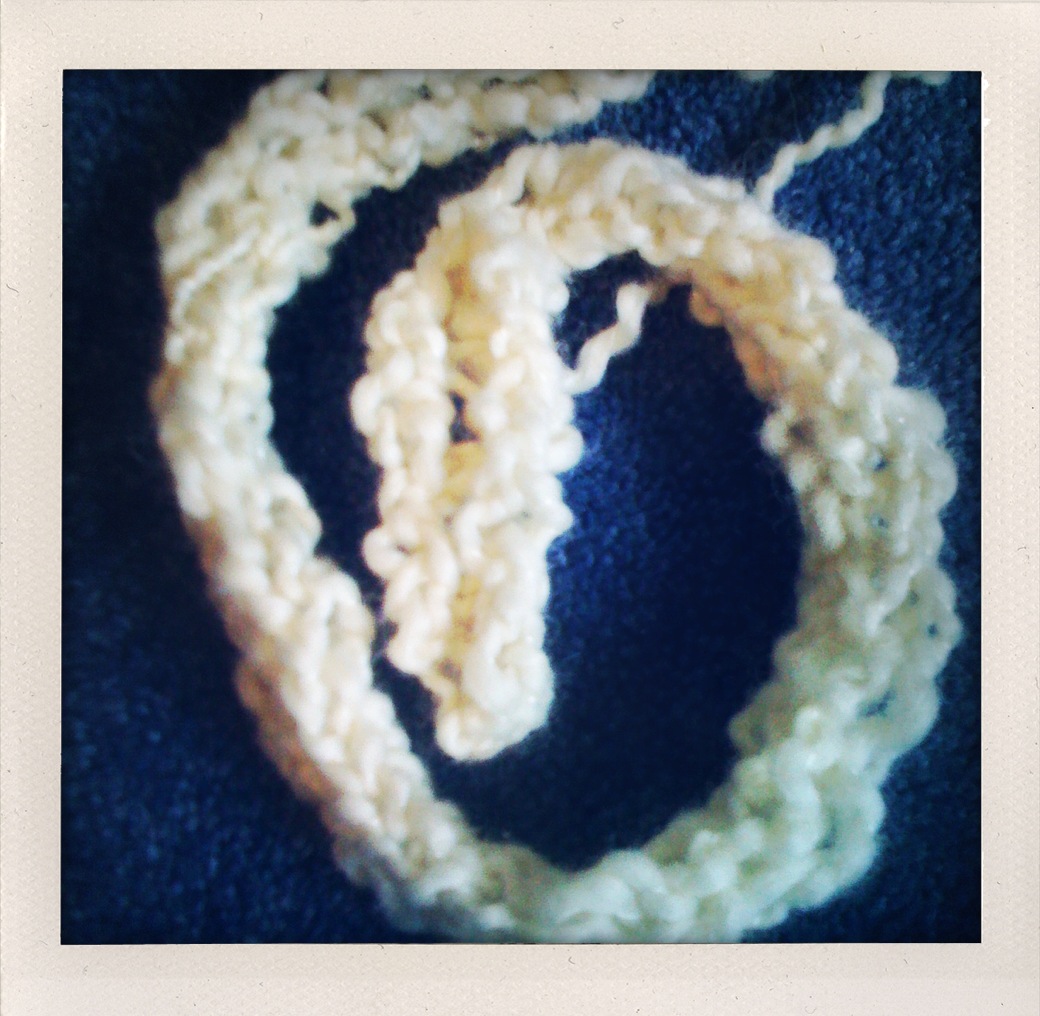
Keep going backwards and forwards in this fashion. After awhile you will notice the cable pattern forming between your fingers.

The other side will be looking like this!

Now keep knitting until you have enough to fit around your head plus enough to tie it.

To cast off simply lay the string across...

Knit the first stitch as normal...

Then shift the loop across...

..to your second finger.

Stitch this one...and do the same shifting the loop across to the next finger and stitching it.

When you get to the little finger... cut the wool and thread this through the last loop...

...like so.

Then pull it tight!!!

Lay the headband part aside, because now we are going to make the flower for on top.
This uses a singer finger knit patten.
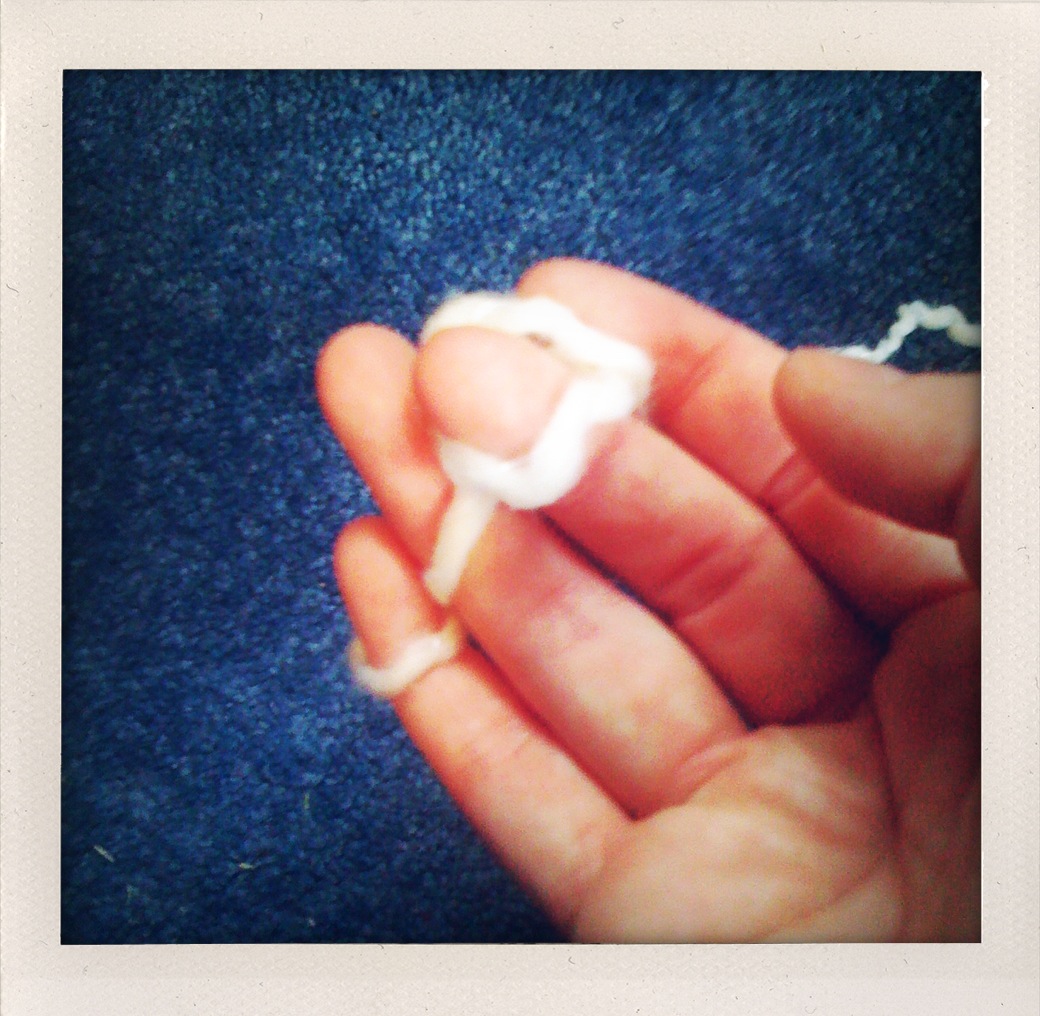
Lay wool across your finger like so...

Then twist it around backwards and make a second loop.

Take bottom loop and take it over the front loop...
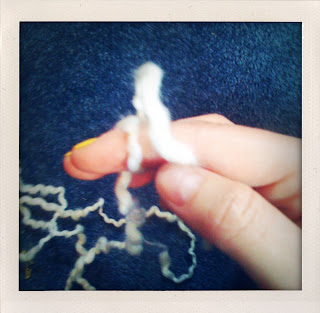
...then putting it under your finger to complete the stitch.

It should look a bit like this...

Next loop the wool around again and continue the stitching pattern.

After a while it will start looking like a braid or something. Keep going until you have 3 FEET of this.

When you have 3 FEET of the finger knit, cut the end of the ball of wool...

and feed it through the loop, pulling tight.

Now we are going to double stitch this.
So take the knitted string and re-finger knit it like so...

Until it is a big fat thing like this!

To form the flower we will pretty much be sewing it in a spiral like this

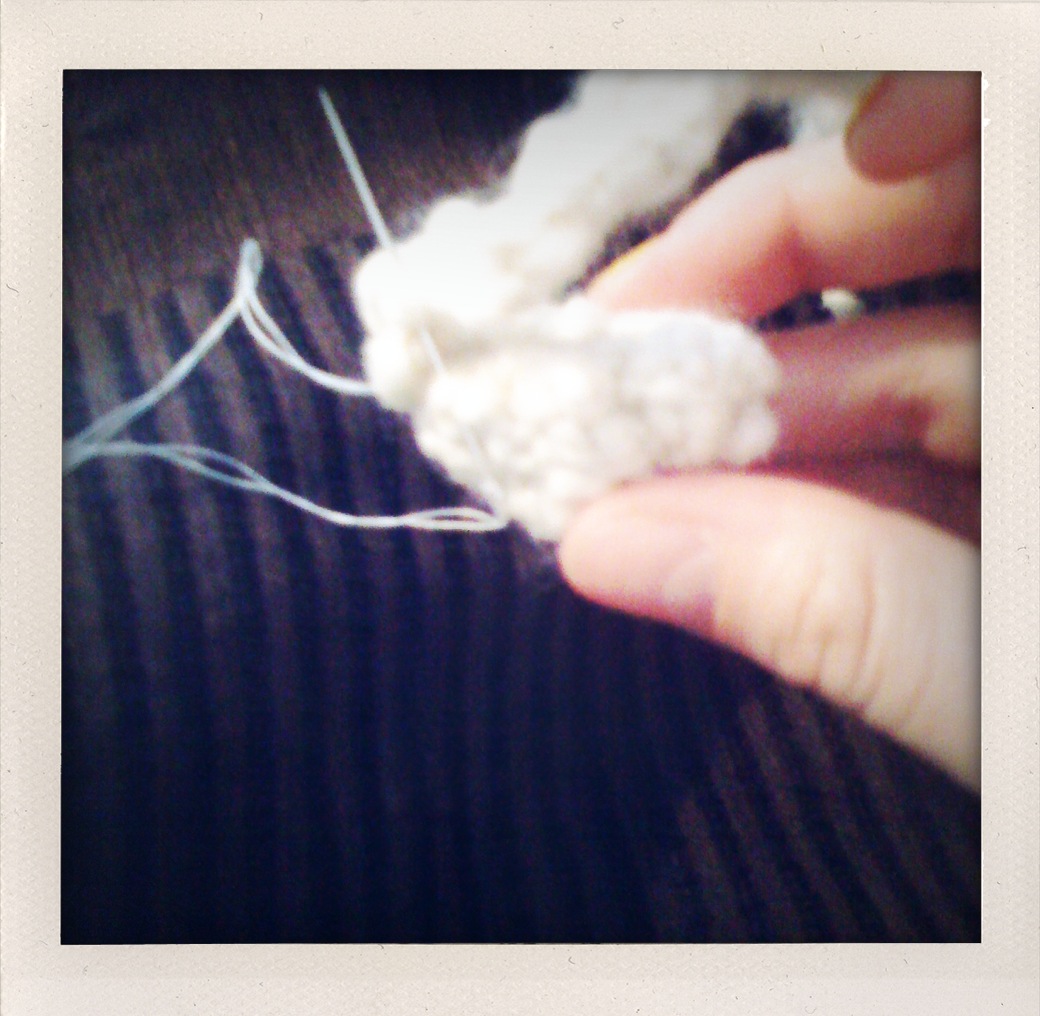
Using a needle and thread stitch the center of the flower... Use lots of stitches, and knots, keeping it tight.

It should look like this

Keep stitching and spiraling around the outside...

It should look like this when you get to the top...

Thread the loose wool end through the flower and cut it off.

It should look pretty good now.

Next I finger stitched a length of my greeny wool...

Which I thought would look nice as leaves...

So I tied a few loops of them together...

Then sewed them on to the bottom of my flower.

While I was at it, I sewed in a bead to the middle of the flower to add colour and depth. (I found it easier pushing the petals backwards to sew the bead on tightly)

The flower is done!

Finish off the headband by...
Tying a know in the headband where it fits your head.

Cutting of and sewing down the ends.


Then sewing on the flower...

Now it's done!


I'd love to see yours if you make one!! <3