
It was making a bag out of a pillowcase! I saw it, thought 'what a brilliant idea' and instantly wanted to make one. On Thursday, after a fancy cup of tea and nice conversation with David, we wandered across to the opshop where I found 4 pillowcases for $1 (as T'nealle had suggested) David found a perfectly fitting pair of trousers, which is like amazing, because he is a tiny little thing, perhaps due to his vegan nature, who knows!
I decided that I would use this pillow case:

Now, I went about my bag a bit differently because I wanted to utilize the pillowcase's buttons. And I forgot to check back on the instructions!
I started by cutting off the top open part of the bag and took off the buttons

Then I turned it inside out and tidied up the edge the I'd just cut (leaving enough gap to turn back in the right way again!)

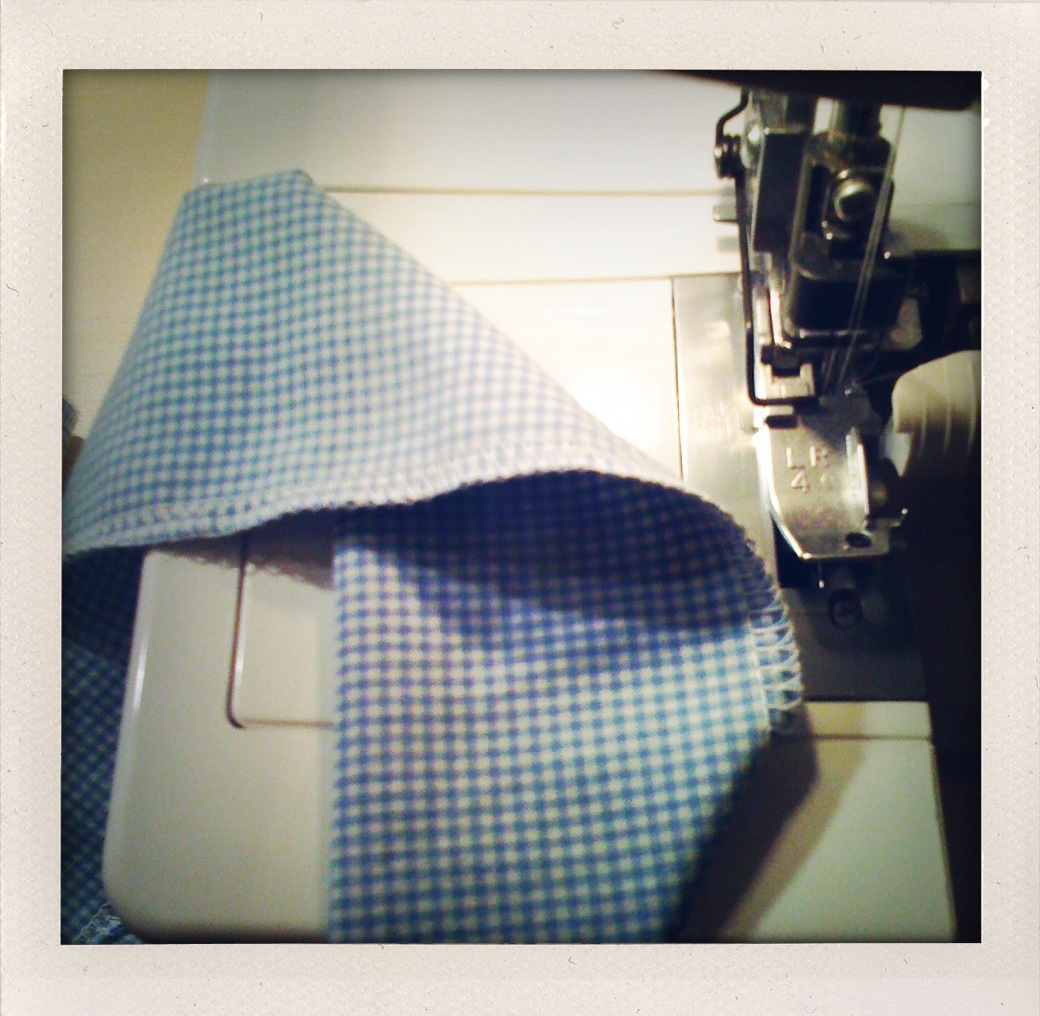
Then I pressed and sewed down the edges of the opening, so the material would not curl around (since the fabric was different on both sides)

Next I zoomed down the sides on the Overlocker- Sadly I broke one of the needles at this point... :-(

Then I opened out the piece of material I'd cut off at the start (leaving it joined in the middle)

I then turned in in the wrong way and overlocked it all the way down on side - making one long strap. (For two straps, see T'nealle's blog)
I sewed a small seam, so it looked tidy, then pinned each end to the bag (where the sides meet) -far enough down to sew a square - like T'nealle suggested (to make it strong)

It should look like this (or similar) afterwards:

MAY I INTERRUPT THIS POST FOR A QUICK ADVERTISEMENT!? -NEED SEWING SCISSORS, BUT FIND GOOD ONES COST TOO MUCH?? I bought these scissors from Smiggle (Ric mall) and they cut SOOOO WELL. They only cost about $3! I've been using them to cut through many pieces of fabric at a time, and they work great!

Anyway... back to the bag...
I then re-sewed on the buttons so I could use them to open and close the bag.

Now thinking my stripy bag looked like it needed something more. So I drew an anchor picture...

which I used to cut out some black stick-on felt

Using a hole-punch to cut out the circle in the middle.

I then added some twine - to look like the anchor rope. Simple stitching it in place in several areas...

...and finishing it on the inside of the bag

NOW MY NAUTICAL TOTE BAG IS COMPLETE!

It was pretty quick to make too, only took an hour or so (with breaking needle dramas!)
Thanks to T'nealle for such an ingenious idea :-)
No comments:
Post a Comment